Skip to content


If you rent, live in a dorm, or simply want to avoid putting holes in your walls, no-drill window blinds are a practical option.
Key Takeaways
- No-drill blinds provide privacy and light control without drilling, appealing to renters and temporary spaces.
- Tension, adhesive, and magnetic mounting methods suit different frame depths, materials, and inside-or-outside mounts.
- Accurate inside and outside measurements—narrowest width and longest drop—affect fit and stability of no-drill installations.
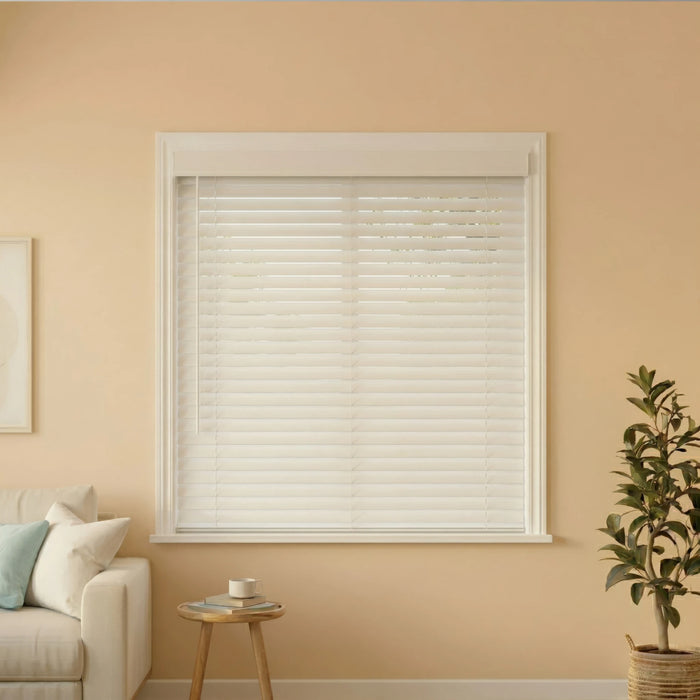
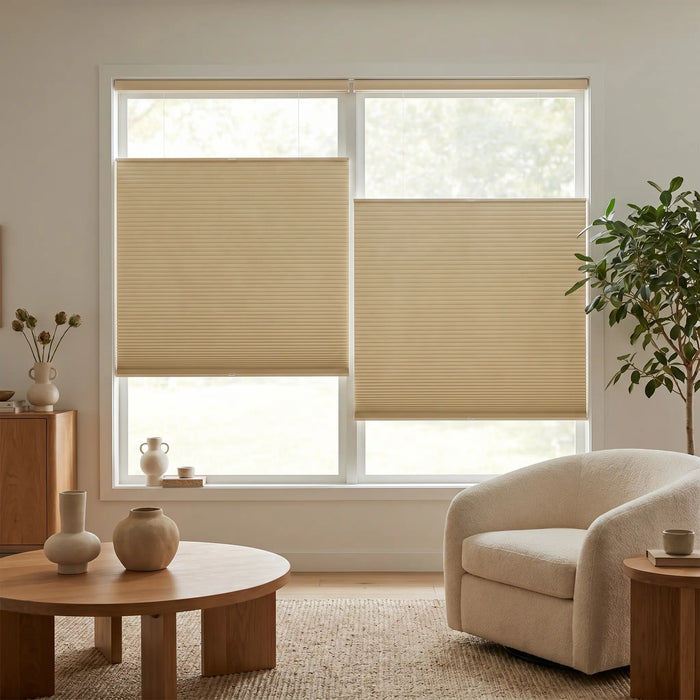
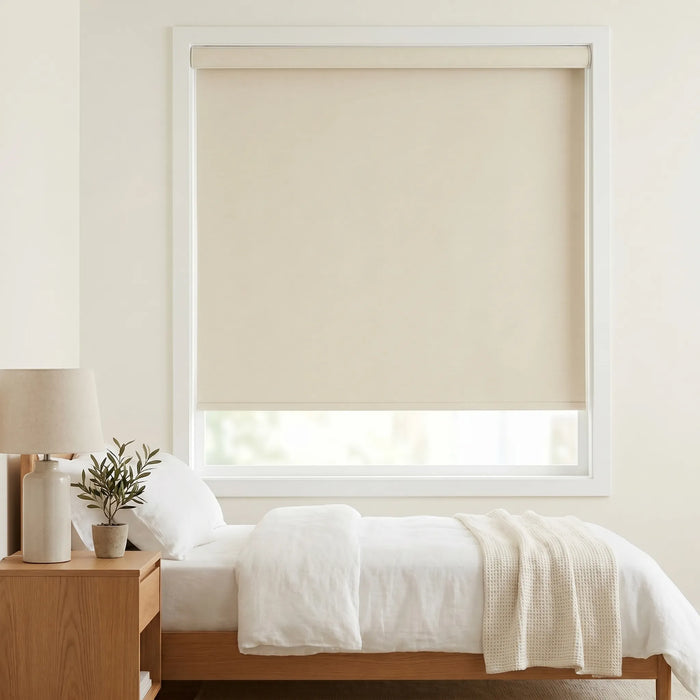
- Lightweight shades and blinds—roller, cellular, mini, and pleated—are most compatible with no-drill mounting options.
About one in three U.S. households rent, according to U.S. Census Bureau housing data, so demand for damage-free window treatments is real.
This guide covers why no-drill installation makes sense.
Why Install Blinds Without Drilling?
Lease agreements often restrict alterations beyond normal wear and tear. Drill holes in walls or the window frame can mean repair bills or lost security deposits when you move.
No-drill blinds avoid that risk. They install quickly with no drill or screws, remove cleanly when you leave, and give you the flexibility to take them with you or swap styles later.
They are a good fit for renters, dorm rooms, and homeowners who want a reversible upgrade.
No-Drill Mounting Methods
No-drill window blinds rely on one of three mounting approaches:
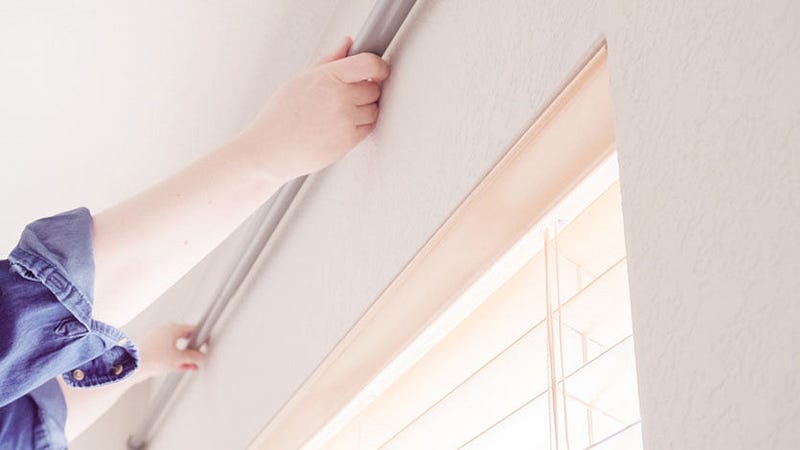
Tension mounting
A tension rod or spring-loaded headrail expands inside the window frame and locks in place by pressure. No screws and no adhesive. It works for inside mount and needs adequate frame depth (often 1½" to 2½", depending on the product).
Best on straight, sturdy frames. It is not recommended for PVC or very shallow or uneven frames. When sized correctly, it stays put and is easy to remove by releasing the tension.
Adhesive or peel-and-stick mounting
Adhesive brackets or the headrail attach with strong adhesive to the frame or wall. You use adhesive by cleaning the surface, peeling the backing, and pressing firmly. This is useful for outside mount or when frame depth is too shallow for tension.
The surface must be clean and dry; many instructions recommend wiping with rubbing alcohol first. Adhesive can weaken in high humidity or heat and works best with lighter blinds or shades. When removal is done correctly, it often comes off cleanly; any residue can be cleaned with a mild remover or warm, soapy water.
Magnetic mounting
Only for metal frames (metal-framed windows or doors). Strong magnets hold the rod or mounting in place. Installation and removal are quick and leave no trace.
Choosing among them depends on whether you are doing inside or outside mount, your frame depth, and frame material.
What You'll Need
- Measuring tape (metal, readable to 1/8")
- Pencil and notepad (or phone) to record dimensions
- Rubbing alcohol and a lint-free cloth if you are using adhesive (to clean the mounting surface)
- Level (optional but helpful for lining up brackets)
For tension-only installs, you often need no other tools.
How to Measure for No-Drill Blinds

Measure carefully; a good fit is what keeps tension mounts secure and adhesive mounts lasting.
For width, measure inside the window frame at the top, middle, and bottom. Use the narrowest width to the nearest 1/8".
For height, measure from top to bottom on the left, center, and right.
Use the longest measurement for the drop. Note whether you are doing inside or outside mount, since that changes where you measure.
For inside mount, do not deduct; the manufacturer applies deductions. Accurate measurements ensure your window blinds without drilling fit correctly.
Prepare the Installation Area
Clear the area around the window: remove curtains, existing hardware, and anything in the way.
For adhesive mounts, clean the mounting surface with rubbing alcohol and a lint-free cloth and let it dry completely before applying brackets.
For tension mounts, make sure the inside of the frame is free of debris and that the frame is sturdy. Check that your frame depth meets the product's minimum requirement.
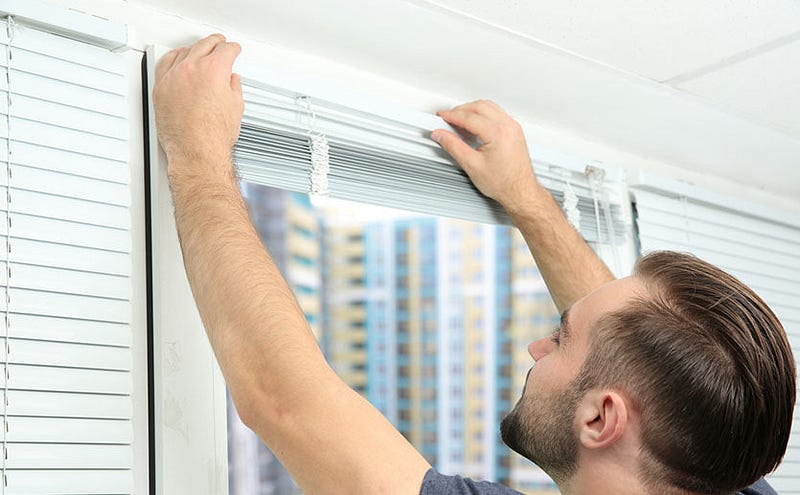
Step-by-Step: Install No-Drill Blinds
- Confirm measurements and mount type. Double-check that you have the correct size and that you are installing for inside or outside mount as intended.
- Position the headrail or brackets. For tension: place the headrail inside the frame and expand it (lever or twist) until it locks securely. For adhesive: mark bracket positions if needed, peel the backing, and press each bracket firmly against the cleaned surface for at least 30 seconds.
- Hang the blinds. Snap or attach the window blind headrail to the brackets. Ensure both sides are seated securely so the blinds operate smoothly.
- Test operation. Raise and lower the blinds several times. They should move smoothly and the mount should not shift or wobble.
- Adjust if needed. If tension feels loose, remove the headrail and re-expand. If adhesive did not hold, re-clean the surface and reapply or use a new strip per the manufacturer's instructions.
Exact steps can vary by product. Follow the instructions that come with your blinds.
Which Blinds Work Best With No-Drill Mounting?
Lightweight options tend to work best for no-drill installation.
Roller shades and roller blind styles are simple and light. Cellular (honeycomb) shades are light and add insulation; some come in light-filtering or blackout options.
Mini blinds are often compatible with tension or adhesive mounting.
Pleated shades are also lightweight. Heavier window blinds or motorized units may require traditional drilled installation.
For a clear breakdown of how blinds and shades differ and when to choose each, see our guide.
Limitations and When to Choose Traditional Installation
No-drill blinds work well in many situations, but they are not universal.
Tension systems need adequate frame depth and straight, sturdy frames. Very wide windows (often over about 72") may exceed no-drill size limits.
Adhesive can be less reliable in humid or very hot rooms. PVC, very shallow, or uneven frames may not suit tension.
When in doubt, or for very heavy or motorized blinds, traditional drilled installation may be the better choice.
Removing No-Drill Blinds Without Damage
Tension: Release the tension (lever or twist) and lift the headrail out.
Adhesive: Follow the manufacturer's removal instructions. Often you pull the strip straight down or use a slow, steady pull. Use a mild adhesive remover or warm, soapy water for any residue.
No-drill options are designed for damage-free removal when you follow the instructions.
Care and Safety
Do not submerge blinds or shades. Dust or spot-clean only, and avoid harsh chemicals that could damage fabric or adhesive. If your blinds have cords, keep them out of reach of children; cordless options are safer.
Common Questions About No-Drill Blinds
Do no-drill blinds really work?
Yes. When you install blinds without drilling using tension or adhesive mounting, they stay in place when the window frame is suitable and the product is correctly sized. Tension systems need adequate frame depth; adhesive needs a clean, dry surface. Both are widely used by renters and homeowners.
Can you get blinds that don't need drilling?
Yes. Blinds without drilling are widely available. Look for no-drill or tool-free options that use a tension rod or headrail, adhesive brackets, or magnetic mounting. Many roller blind, cellular shade, and mini blind styles offer no-drill installation.
Are no-drill blinds suitable for all windows?
No. Very wide windows, PVC frames, or very shallow or uneven window frames may not suit tension mounting. Adhesive can be less reliable in humid or very hot rooms. When in doubt, check the product's requirements or consider traditional drilled installation for the best hold.
Conclusion
No-drill window blinds give you privacy and light control without holes or permanent changes. They are ideal for renters and quick upgrades. Measure accurately, prepare the surface, and follow the steps for tension or adhesive mounting.
When you are ready to choose, shop our custom window blinds for options that fit your windows and your lifestyle.