Skip to content

So, Your Blinds Are Too Long? Let’s Fix That!


When it comes to installing blinds in the home, the length of your blinds isn't always a concern. After all, that's what the drawstrings are for – right? If they're too long, you can just pull them up and tie the strings in a knot.
Key Takeaways
- Window treatments affect light control, privacy, insulation, and overall room aesthetic and atmosphere.
- Shutters feature slats, rails, and stiles, with styles like plantation, traditional, and café shutters.
- Shutters tend toward greater durability and insulation but usually entail higher upfront cost and complex installation.
- Blinds use adjustable slats and various materials for affordable, low-maintenance light and privacy control.
This definitely isn't an ideal situation. When you let your blinds down, the last thing you want is to have the bottom rail hitting against the windowsill or the floor. Not to mention, having some bunched-up fabric and strings in the way isn't exactly aesthetically pleasing!
If your blinds are much too long, you may have considered purchasing new ones – but there's no need for that. Let's find out how to shorten window blinds yourself without spending a fortune on buying new products.
How to Shorten Your Blinds
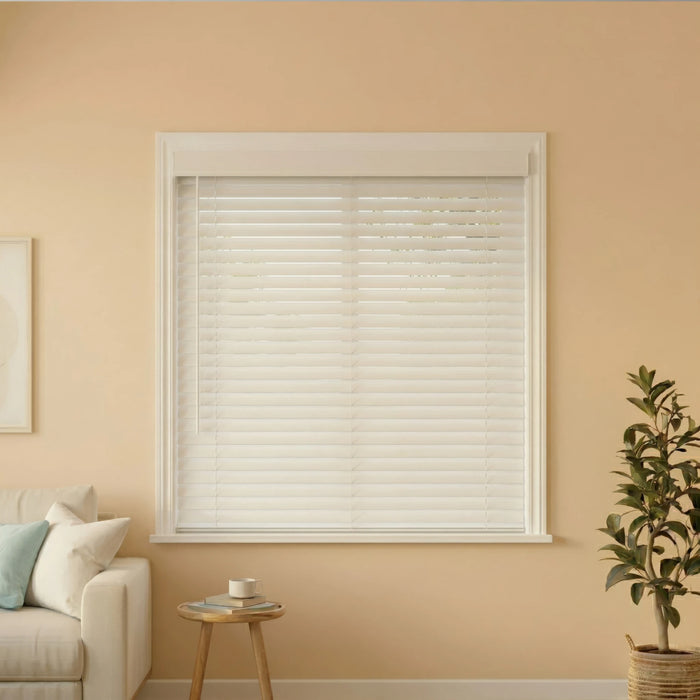
Whether you are installing Venetian blinds, wooden blinds, vertical blinds, or a different treatment altogether, there is always a way to shorten them – either at home or professionally.
For the purpose of this article, we'll just be giving instructions for horizontal blinds, not vertical blinds. Our professional window treatment experts are always available to talk you through any other type of blinds.
Let's dive into the steps for shortening your blinds.
Step 1: Extend Blinds Completely
Your first port of call is to extend your blinds as far as they will go. This is to get a better idea of where the excess length lies and how much needs to be taken up. For instance, if you have an inside mount set of blinds that hang onto or below the window, you'll want to shorten them so they sit just above the windowsill.

Step 2: Mark New Bottom Slat
The process of shortening Venetian blinds simply involves removing slats from the ladder cords and shortening the strings. That means you'll need to choose a new slat to be the bottom slat of your blinds.
To do this, choose where you want to shorten your blinds to. Your best bet for inside mounted blinds is to have them hanging about an inch above the windowsill. Remember that you need to leave space for the bottom rail to fit onto the window – so measure one inch above the windowsill, then choose the next slat up from that.
Step 3: Take Out the Rail Plugs
Most blinds have a bottom rail with a series of plastic plugs underneath. The plugs are there to hold each string in alignment with the slats. To remove them, you can use a flathead screwdriver or knife blade – just be careful not to damage the strings or bottom rail.
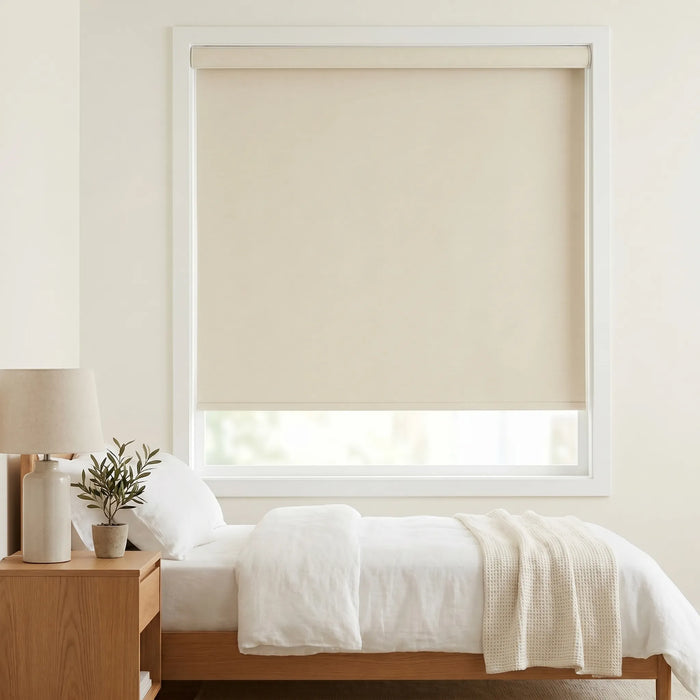
Browse Our Collection of Vertical Blinds
Step 4: Remove the Bottom Rail
The only thing holding your bottom rail in place now will be the three or four main vertical string ladders. Simply slide the rail out sideways through the ladder cords, then set it aside.
Step 5: Remove the Extra Slats
Any extra blind slats can be removed in much the same way as the bottom rail – by sliding them out sideways through the ladder cords. First, however, you need to unthread the adjusting strings from each of the slats. Go to the topmost slat you want to remove; you should see a series of narrow holes along the slat, through which the adjusting strings pass.
Using a flathead screwdriver or your fingers, gently pull the first string so that it unthreads from all of the slats up to the one you want to remove. Do this for all of the strings until they are no longer threaded through any slats – then you can begin the process of removing each slat from the string ladders, bottom-most to top-most.

Step 6: Insert Bottom Rail
In the loop directly underneath your final slat, thread the bottom rail back in. Make sure it is lined up properly with the other slats. You'll then need to locate the adjusting strings and thread them through each of the holes along the bottom rail.
Each string will have a small plastic bead at the end; slide these right up to the headrail and re-tie the knots holding them in place.
Test out the new length of your blinds by opening and closing them. You may need to adjust the strings again if the bottom rail is sitting crooked. Once you are satisfied, it's time to make the change permanent.
Step 7: Trim Extra Cord Length
By now, you will have a few extra blind strings dangling down from the bottom rail. Your blinds will look messy if you don't trim them down to the right length.
It's important to leave enough length so that you can still tie the strings in a knot. We recommend leaving around 2-3 inches of slack, then using a pair of scissors to trim the rest off.
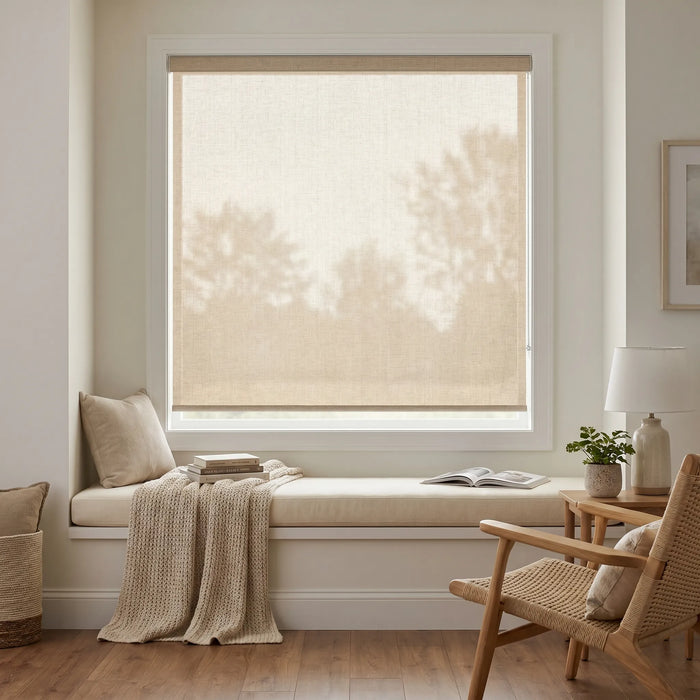
Check Out Our Cordless Classic Faux Woods
Step 8: Tie the Knots
The ladder cords you just cut need to be tied in a knot, then inserted into the holes along the bottom rail. This is to stop the strings from slipping out and to hold them in place.
To tie each knot, simply bring the two strings together and loop them around each other twice. Then pull them tight and insert the knot into the hole along the bottom rail. You will end up with four or five knots.
Step 9: Insert Rail Plugs
Your final step is to insert the rail plugs. The point of these plugs is to keep the knots hidden and neat. To insert them, trim the remaining strings under each knot with scissors, then slide each plug into the bottom rail, lodging the knots in place.
The great thing about this shortening process is that you can repeat it any time you feel like your blinds need to be shortened further. Go ahead and give it a try; you'll have shorter, tidier blinds in no time!

Step 10: Shorten Cords
Depending on how much you've shortened your blinds, you may need to shorten the lift cords, too. Simply slide the beads up to the length you want and re-tie the knots keeping them in place. You can then trim the excess from the lift cords, and voila – your lift cords have been successfully shortened.
If you have cordless blinds, this obviously won't be an issue.
What Are the Types of Blinds You Can Shorten?
You may be reading these instructions and wondering – what other blinds in my home can I shorten? You'll be pleased to know that almost all types of blinds can be shortened:
- Aluminium blinds and faux wood blinds can be shortened following much the same process as above.
- Roller blinds are a bit trickier, but can still be done – you just need to trim the excess fabric at the bottom.
- Shutters don't typically need to be shortened since they usually come fitted to the window.
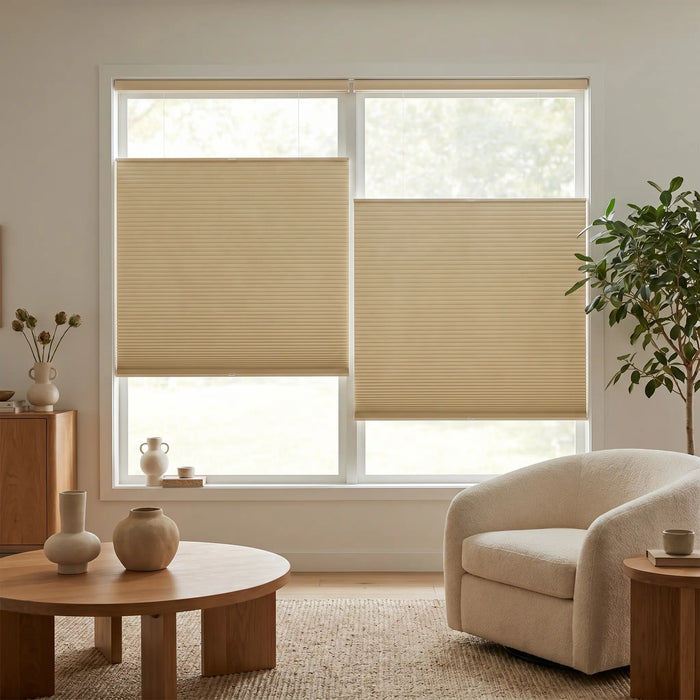
- Honeycomb shades or cellular shades can be shortened in-store by professionals so that the insulating cells remain intact.
- Roman shades are shortened by tailoring the fabric to the length you need and hemming the ends.
Some more specialized blinds, like zebra shades or vertical blinds, may be best left to the professionals. If you're ever unsure, call us at Factory Direct Blinds, and we'll be more than happy to help!
Need Help Shortening Your Blinds? Reach Out To Us
There's no doubt that, while blinds can be shortened at home, it can be a tricky and time-consuming process. That's why we recommend reaching out to us here at Factory Direct Blinds if you need help shortening your blinds.
We have years of experience in window treatments, so you can rest assured that your blinds will be shortened properly and safely. Our team of professionals can quickly and accurately adjust the length of your blinds – no fuss and no mess.
If you're in need of help shortening your blinds, don't hesitate to call us today!